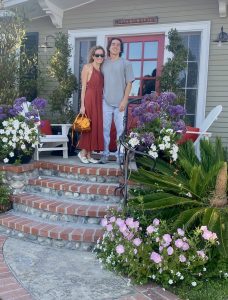
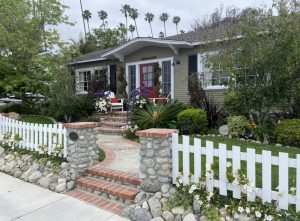
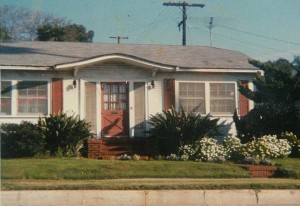
 Some forty years ago this is what our house looked like… yikes! You should have seen the inside. Wish I had photos but I’ll just have to describe the horridness to you. (The house was a rental for years before my presence.)
ALL the walls and wood trim work (doors, jams, etc.) were painted a hot pink. Yes, you read that right.. HOT PINK! Then, the next tenant started to faux paint the wood to make it look like dark walnut but he never finished and some of the pink was still showing! There were walls covered with large orange and brown paisley wallpaper and also walls painted green. Dark brown shag carpeting covered the old oak floors… thank goodness they were protected. There were even brown paper bags on the windows. Oh my gosh, the images still bother me forty years later! However, I’ve loved the journey it’s taken me on…
Originally the cottage was 2 bedrooms and 1 bath – probably built for beach vacationers that would come down from Pasadena back in the early 20s. It had, and still does, very little closet space. Like I said, we make do with what we’re given.
(Photo above: My daughter and grandson)
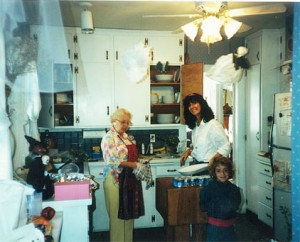
The only photo I have of the old kitchen must have been taken at Halloween. I remember making those tissue ghosts to swirl around from the ceiling fan some 20 years ago. That’s my dear Aunt Janie who has since passed away but was always at hand to help out. I lived with that kitchen as a single mom, struggling to balance it all, for 20 years. When my husband and I got married 10 years ago, the first thing we did was to gut the kitchen. One of the perks of being married is having a second income!
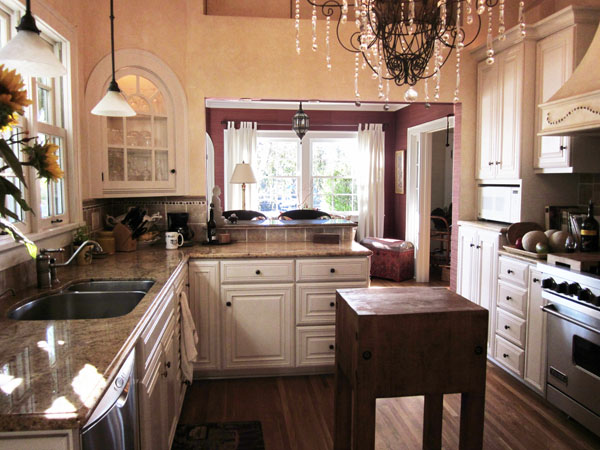
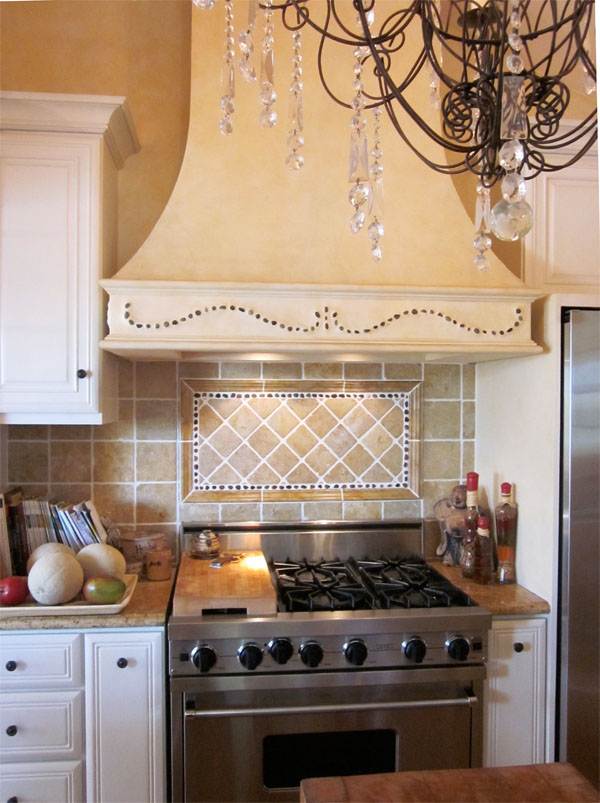
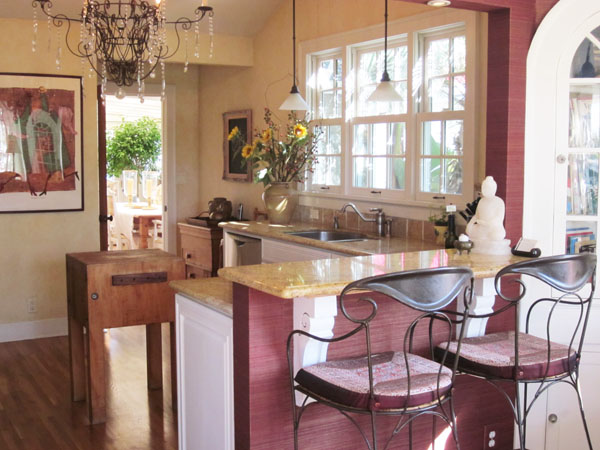
By accident we discovered how nice it was to vault the ceiling (following the original roof line) … what a difference that made! So much nicer than the old low ceiling. The higher ceiling gave way to designing the beautiful hood over my stove and the great iron chandelier. I’ll talk more about that later. I basically researched magazines and found photos of everything that I would love in a kitchen then took it from there. I made the pebble design on the hood myself. It’s still a small kitchen but seems to be much larger with the open counter to the sitting room.
The iron chandelier I found at Architectural Salvage in San Diego – Fabulous place to look for the unusual. I had it wired for electricity and for a few years used it without crystals. They came later when I was redoing my mother’s home and she no longer wanted a chandelier in her hallway. I took it apart and added them for Christmas but then decided to keep them up all year round.
MY BATH
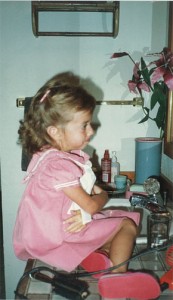
When I was expecting my daughter, about 30 years ago, my brother added on a bedroom and another bath. Back then it was wonderful. I was happy to have any kind of extra room. Years later – not so wonderful. Here is the only photo I could find of the old bathroom addition… my daughter, about 25 years ago, sitting on top of the plywood built sink cabinet. We had just finished playing “a day at the beauty parlor.” I tiled the top myself with blue gray tiles. It also had a prefab plastic bath and shower. Yuk!
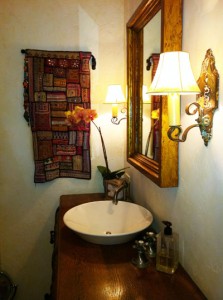
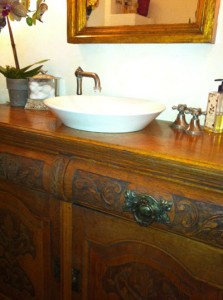
In the new bath (aka “Hers” – he has “His” own) I used an old dining room hutch for the new sink cabinet. I love the extra little height it gave me. I had a wonderful cabinet maker cut a hole in the top and install the vessel sink. He also shortened the two drawers so they could still be used. Notice the untraditional placement of both the hot and cold knobs off to one side.
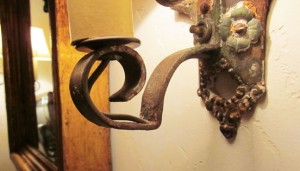
The mirror and wall sconces I also found at Architectural Salvage in San Diego. I left the sconces as I found them with many layers of old paint and the iron showing through but I gold-leafed the mirror which had a nice, heavy wood frame. Gold-leafing is so easy to do. I used it on two other mirrors in my home. You can buy a kit at Michael’s Art Supply. Be sure to get one of their 40% off coupons online!
The Indian tapestry on the wall, hung on a swing out arm, hides recessed shelving for my extra sundries. I prefer the uniqueness over a conventional medicine cabinet.
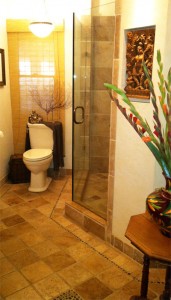
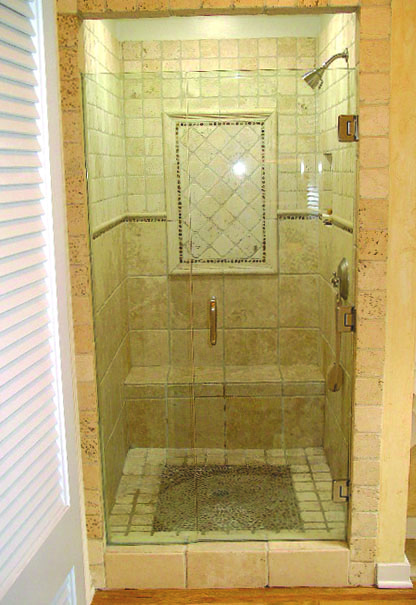
The tumbled marble floor tiles I laid myself. 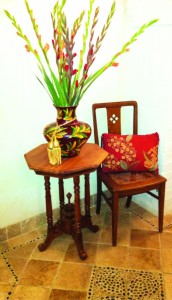 Really isn’t hard, with the use of spacers – but I had a helper to cut the tiles. I also inlayed the pebble mosaic and border. Love my walk-in, roomy shower! I had a professional do the tile work in the shower. It’s much harder to lay tiles on a vertical surface!
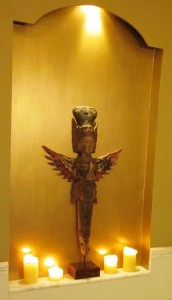
While remodeling the bathroom shower, I found this Indian wood carving and had a niche built into the wall with a dimmer spotlight above. Works double as a night light.

“HIS” Bath
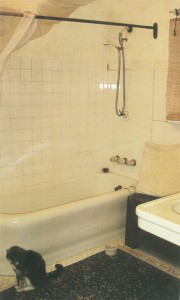
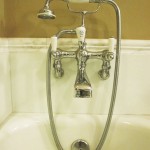
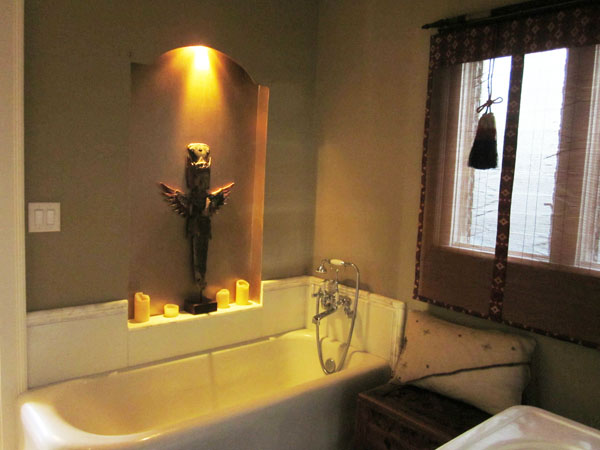
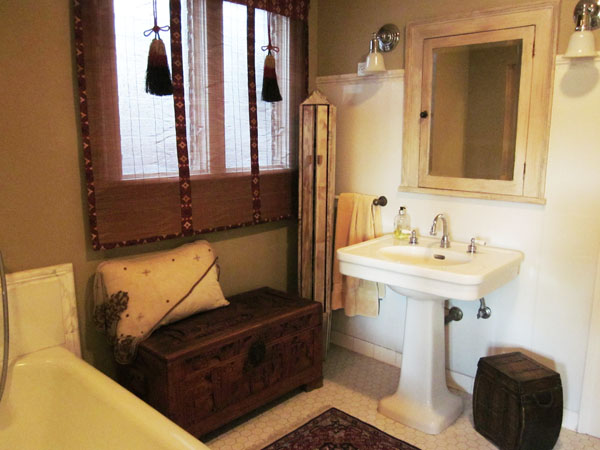
The original bathroom to the house had a combination tub and shower. Some of the milk glass wall panels around the tub were badly cracked but we kept it on the other two walls as well as a border around the tub. We managed to enlarge the bathroom by adding on a separate shower and walk-in closet just outside the door. “Kitty” has since gone to Kitty Heaven but her spirit is still with us.
